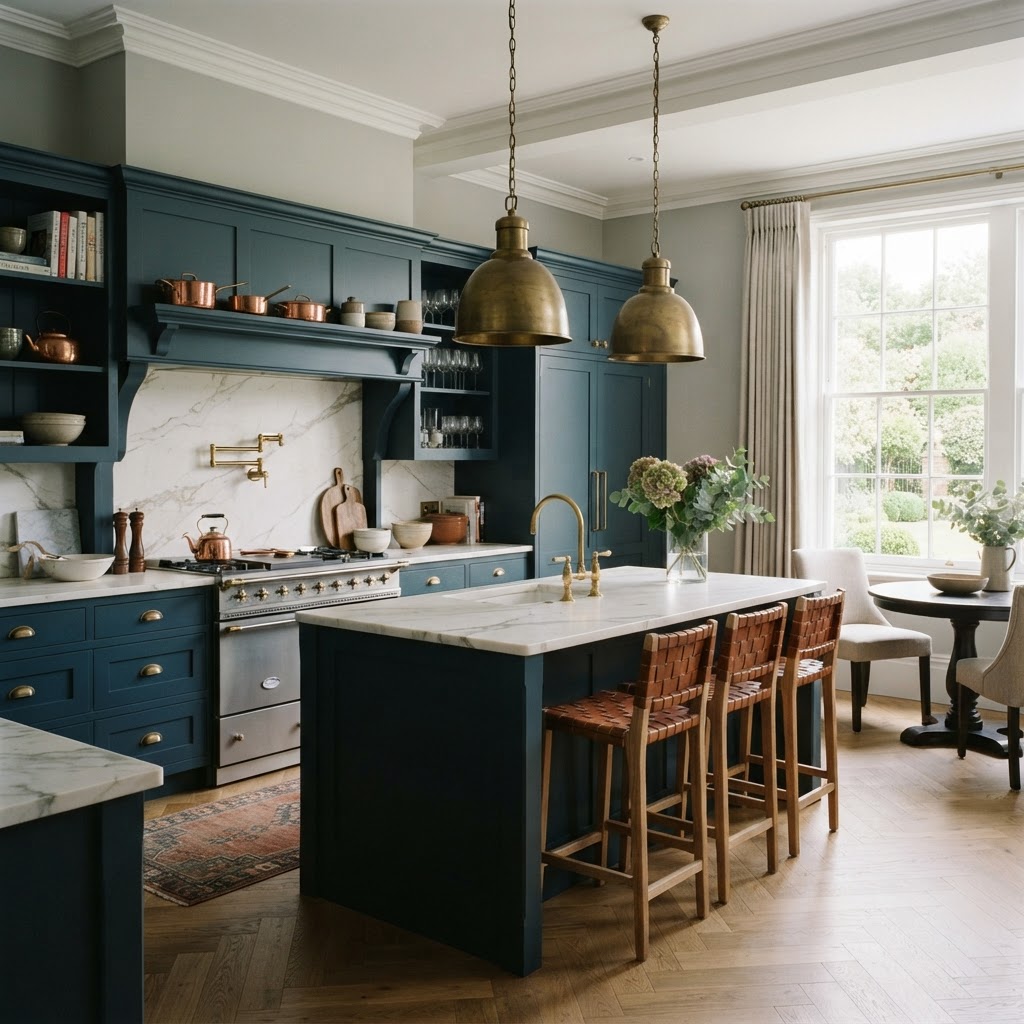
How to Paint Kitchen Cabinets: A Complete Step-by-Step Guide for a Flawless Finish
The kitchen is the undeniable heart of the home, a space where culinary creativity meets daily family life. Over time, however, even the most cherished kitchens can begin to feel dated or tired. If your current cabinetry is structurally sound but simply lacking in aesthetic appeal, you might be asking yourself: how do I paint my kitchen cabinets to achieve a professional, enduring finish?
While replacing your cabinetry with a completely new bespoke kitchen is the ultimate way to elevate your home, a meticulous paint job can serve as an excellent interim solution to breathe new life into your space. At Dajon Interiors, we have spent decades designing and installing luxury living spaces. We understand that the difference between an average finish and a breathtakingly luxurious one lies entirely in the preparation, the quality of the materials, and the execution.
In this comprehensive guide, we will walk you through exactly how to paint kitchen cabinets like a true professional, ensuring a flawless and highly durable result that will revitalise the heart of your home.
Assessing Your Cabinetry: Is Painting the Right Choice?
Before you begin selecting paint colours or purchasing supplies, it is essential to honestly assess the current state of your kitchen cabinets. Painting is a labour-intensive process, and it is only worthwhile if your underlying doors and frames are in good condition.
Solid wood doors (such as oak, pine, or maple) are phenomenal candidates for painting. The natural wood grain provides an excellent surface for paint to adhere to once properly sanded. MDF and wooden veneers can also be painted successfully, provided the veneer is not peeling, chipped, or bubbling. Laminate cabinets, often found in older or budget installations, are notoriously difficult to paint because their slick, non-porous surfaces repel standard primers. While specialist adhesion primers exist, the longevity of painted laminate is rarely comparable to painted wood.
If your cabinets are warped, suffering from water damage, or structurally compromised, no amount of premium paint will hide these flaws. In such instances, investing your time and resources into a full renovation from a specialist high-end interiors Gloucestershire showroom will ultimately provide far superior value, durability, and daily satisfaction.
Essential Tools and Materials You Will Need
To achieve a showroom-quality finish, you must use high-quality tools and materials. Attempting to save money on cheap brushes or budget paint will inevitably result in visible brush strokes, uneven coverage, and a finish that chips easily under the rigours of a busy kitchen.
- Sugar Soap or Heavy-Duty Degreaser: Kitchen cabinets are coated in microscopic layers of cooking grease. This must be entirely removed before sanding.
- Sandpaper (Various Grits): 120-grit for the initial sanding and 220-grit for smoothing the surface between coats of paint.
- Wood Filler and a Putty Knife: To repair any dents, scratches, or old hardware holes if you plan to change your handles.
- Tack Cloths: Absolutely essential for removing every single particle of dust before a brush even touches the surface.
- High-Adhesion Primer: A shellac-based or premium stain-blocking primer is vital to prevent wood knots and old stains from bleeding through your new colour.
- Premium Cabinet Paint: Opt for a specialist water-based acrylic or a durable alkyd-acrylic hybrid paint specifically formulated for cabinetry. These modern paints provide a hard, self-levelling finish.
- Microfibre Mini Rollers and Synthetic Brushes: For applying the paint smoothly without leaving lint or brush marks.
- Masking Tape and Dust Sheets: To meticulously protect your worktops, flooring, and integrated appliances.
Step-by-Step: How to Paint Kitchen Cabinets Like a Professional
Step 1: Remove Doors, Drawers, and Hardware
The most common mistake amateur DIYers make is attempting to paint the cabinet doors whilst they are still attached to the frames. This approach practically guarantees unsightly drips, missed edges, and paint splattered on your hinges. Begin by carefully unscrewing all cabinet doors and removing the drawer fronts. Remove all handles, knobs, and hinges. Crucial tip: Use small pieces of masking tape to label the back of every single door and drawer (e.g., 'Top Left Sink') so you know exactly where they must return to during reassembly.
Step 2: Meticulous Cleaning and Degreasing
Even if your kitchen looks impeccably clean, the cabinetry will harbour invisible layers of cooking oils, steam residue, and hand grease. Paint absolutely will not adhere to grease. Dilute your sugar soap or specialist degreaser according to the manufacturer's instructions and scrub every surface thoroughly. Pay special attention to the areas around the handles and underneath the lower cabinets. Rinse with clean water and allow the wood to dry completely.
Step 3: Sanding for the Perfect Key
You do not need to sand your cabinets completely back to bare wood, but you do need to 'de-gloss' the surface to provide a mechanical key for the new primer to grip. Using 120-grit sandpaper, gently scuff all surfaces. If your cabinets have raised panels or intricate routing, use a flexible sanding sponge to press into the details without flattening the profiles. Once sanded, vacuum up the dust and meticulously wipe down every door and frame with a tack cloth. Any remaining dust will become permanently entombed in your paint finish.
Step 4: Applying a High-Adhesion Primer
Primer is the unsung hero of cabinet painting. It creates the necessary chemical and physical bond between your old cabinet surface and your new topcoat. Using a high-quality synthetic brush for the recessed areas and a foam or microfibre roller for the flat surfaces, apply an even coat of your chosen primer. Do not rush this step. Allow the primer to dry completely, which usually takes a few hours depending on the brand and the ambient temperature. Once dry, lightly run your 220-grit sandpaper over the surface to eliminate any raised wood grains or minor imperfections, then wipe with a tack cloth again.
Step 5: Applying the Topcoat (The Painting Process)
Now it is time for the transformative part: applying the colour. Stir your premium cabinet paint thoroughly. Using your angled synthetic brush, cut into the detailed profiles and edges of your doors first. Immediately follow with a mini roller on the flat panels to smooth out any brush marks and ensure a uniform, self-levelling finish. Apply the paint in thin, even coats rather than one thick coat, which will invariably run and sag.
Allow the first coat to dry exactly as long as the manufacturer recommends. Rushing to apply the second coat will reactivate the first, resulting in a sticky, uneven mess. Lightly sand with 220-grit paper between the first and second coat, remove the dust with a tack cloth, and apply your final coat of paint. Repeat this entire process for the cabinet frames attached to your kitchen walls.
Step 6: Allowing Proper Curing Time Before Reassembly
There is a vast difference between paint being 'dry to the touch' and paint being fully 'cured'. While your doors may feel dry after a few hours, the chemical curing process that provides the paint with its hard, protective shell can take anywhere from a week to a month. Reattach your doors and hardware gently after 48 hours, but treat your newly painted kitchen with extreme care for the first few weeks to prevent accidental chipping or peeling.
Expert Insight: The Dajon Interiors Approach to Kitchen Excellence
While a DIY paint project can temporarily refresh a space, it is incredibly difficult to replicate the flawless, ultra-durable finish of a factory-painted or professionally spray-finished luxury kitchen. At Dajon Interiors, we design and install bespoke kitchens that are crafted to stand the test of time, both aesthetically and structurally.
When our clients desire a painted look, we supply meticulously engineered doors that have been primed and painted in state-of-the-art facilities, ensuring an immaculately smooth surface that is highly resistant to the scratches, heat, and moisture typical of a busy home. Whether you favour a deep, dramatic navy blue, a soft sage green, or a warm neutral palette, investing in professionally finished cabinetry guarantees a level of sophistication and longevity that simply cannot be achieved with a brush and roller. As leaders in luxury home transformation, we bring this same uncompromising standard to every space we touch, from contemporary culinary spaces to the serene, bespoke bathrooms Cotswolds homeowners adore.
Serving Gloucestershire: From the Cotswolds to Cheltenham
For over two decades, Dajon Interiors has been the trusted destination for homeowners looking to elevate their properties. We are proud to be widely recognised as the premier kitchen/bathroom/bedroom showroom Gloucestershire has to offer. Based conveniently in Gloucester, our reach extends across the entire region.
Whether you reside in a historic townhouse and are searching for classic luxury kitchens Cheltenham style, or you own a sprawling country home requiring bespoke cabinetry perfectly suited to the unique architecture of Stroud or the wider Cotswolds, our expert design team is on hand to assist. We understand the local architecture and the specific lifestyle needs of our Gloucestershire clients, allowing us to design spaces that are not just beautiful, but perfectly tailored to your daily life.
Ready for a Truly Flawless Kitchen Transformation?
Painting your existing cabinets is an excellent short-term solution, but if you are yearning for a kitchen that functions as beautifully as it looks—complete with intelligent storage solutions, state-of-the-art appliances, and an immaculate, enduring finish—it may be time to consider a complete redesign.
Why spend weekends sanding and painting when you could be relaxing in a space tailored entirely to your vision? Our award-winning design team is ready to help you explore the possibilities for your home, ensuring every detail is crafted to the highest standard.
Are you ready to elevate your home? Contact us today to book a FREE design consultation. Visit our Gloucester showroom to explore our stunning displays and discuss your vision over a coffee, or contact us online to arrange a complimentary home survey. Let Dajon Interiors bring unparalleled luxury and precision to your next project.